How to make a family photo album with children from old pictures
· Editorial team lasvegasnewskelly.com
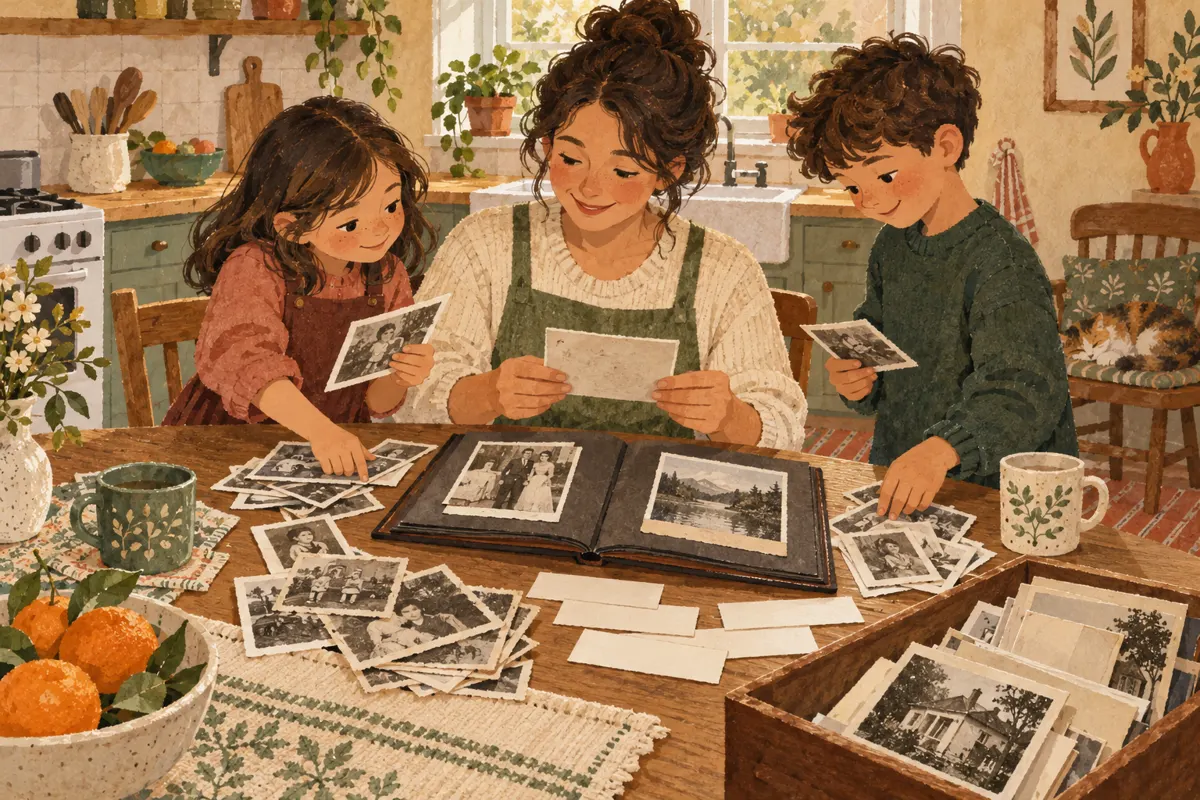
Start with a small batch of old pictures, let each child choose favorites, and add short captions before arranging the photos in an album. You do not need to organize your entire collection first. The proposed family activity below keeps the task manageable and gives children a real part in deciding which everyday memories to preserve.
Choose one small story to tell
Give the album a clear boundary: one summer, a former home, a child's early years, or ordinary weekends together. A specific theme makes it easier to decide what belongs. Set aside pictures outside that theme for another project instead of expanding this album every time you uncover something interesting.
For a first session, a proposed starting batch is about 20 to 30 pictures from one envelope or box. Gather the photos, an empty album, loose paper for captions, and a pencil. Use copies for any cutting or decorating, and keep irreplaceable originals separate from the children's craft materials.
Decide together who the album is for. A book the children will browse themselves may feature different favorites from a gift for a grandparent. Choose a simple working title, such as “Our days at the old house,” to guide the selection.
Sort the pictures without getting stuck
Spread out only the chosen batch. If the dates are clear, arrange it roughly from earliest to latest. If they are uncertain, group pictures by a recognizable subject, such as kitchen moments, cousins, pets, or outings. You can tell a coherent story without knowing the exact date of every photograph.
- Album candidates: pictures that fit the theme and show something you want to remember.
- Ask someone: pictures with an unidentified person, place, or occasion.
- Save for later: duplicates and pictures that belong in another album.
Avoid turning the session into a decision about throwing photographs away. Set unused pictures aside. When several images show the same moment, compare them together and choose the one that best carries the memory.
Let children choose meaningful favorites
Invite each child to choose a few pictures and explain their choices. Younger children can point while an adult writes; older children can make their own shortlist. Give everyone a turn before filling the remaining spaces together.
- Which picture shows something we used to do all the time?
- Where can you spot a favorite toy, meal, or place?
- Which photo would you like someone to tell you more about?
- Which picture makes you remember a funny moment?
Leave room for imperfect photographs. A slightly blurry image of a familiar bedtime routine may matter more to your family than a sharp group portrait. Include ordinary scenes alongside celebrations, and respect a child's request to leave out a picture they find embarrassing.
Write captions that explain the memory
Add names, places, and dates where you know them, then one detail the picture cannot explain by itself. A caption might read, “Maya and Grandpa making pancakes at his house. She always asked for the smallest one.” This is an example, not a record of a real family.
Record children's words as they say them when those words capture the memory. Keep captions short enough to read easily beside the photo. If you are unsure of a date, write “around 2010” or “date unknown” instead of guessing. Ask a relative about unidentified people, and distinguish their recollection from confirmed information.
Arrange simple pages and finish together
Lay out the pictures and caption slips before placing them permanently. Work on one pair of facing pages at a time. Keep the layout consistent, with enough space for names and stories. For a printed photo book, make digital copies of the old pictures and check that faces remain visible after cropping.
- Read the captions aloud together and check names and spelling.
- Look for repeated pictures or a missing part of the story.
- Let the children choose the cover picture and final title.
- Place the completed album somewhere the family can easily browse it.
If attention runs out, put the selected photos and captions together in a labeled envelope. Resume with the next unfinished page rather than sorting everything again.